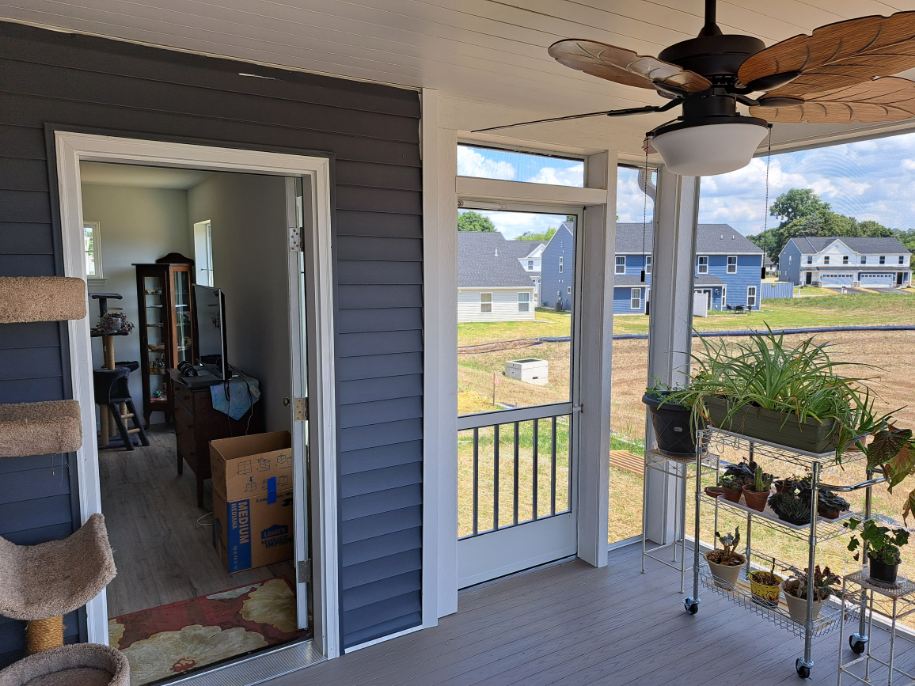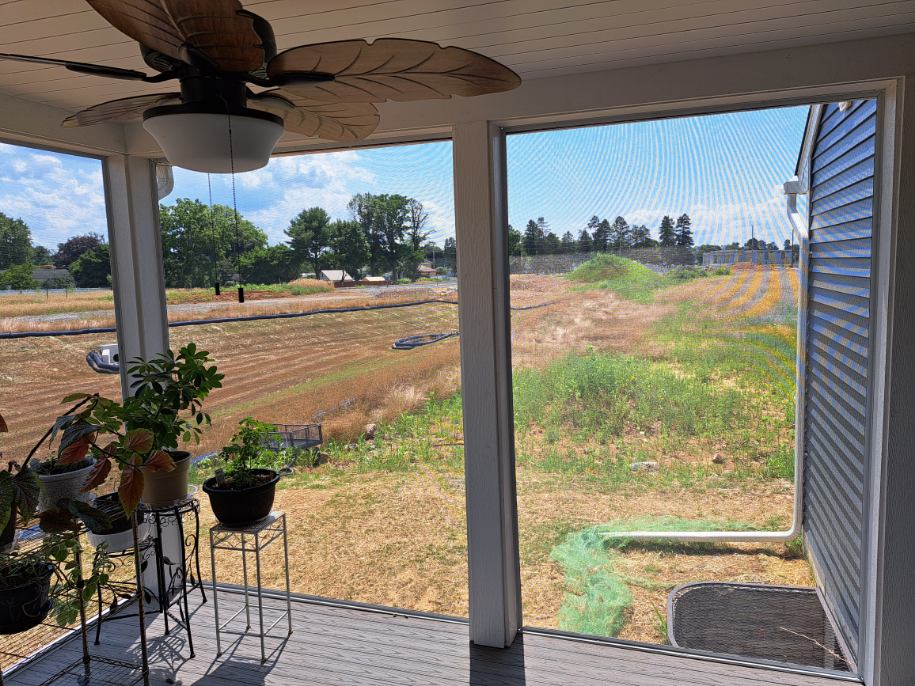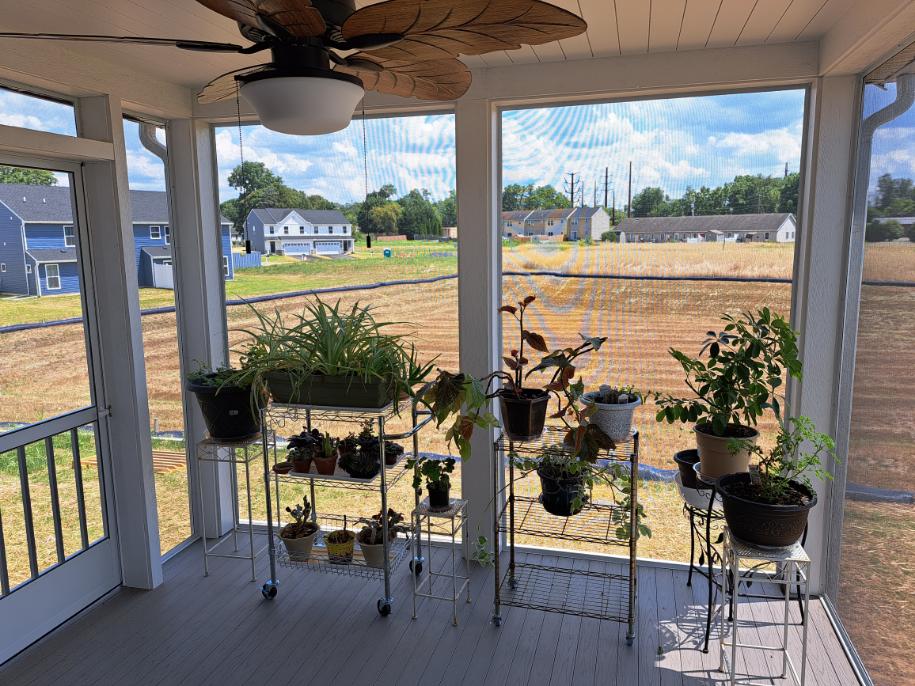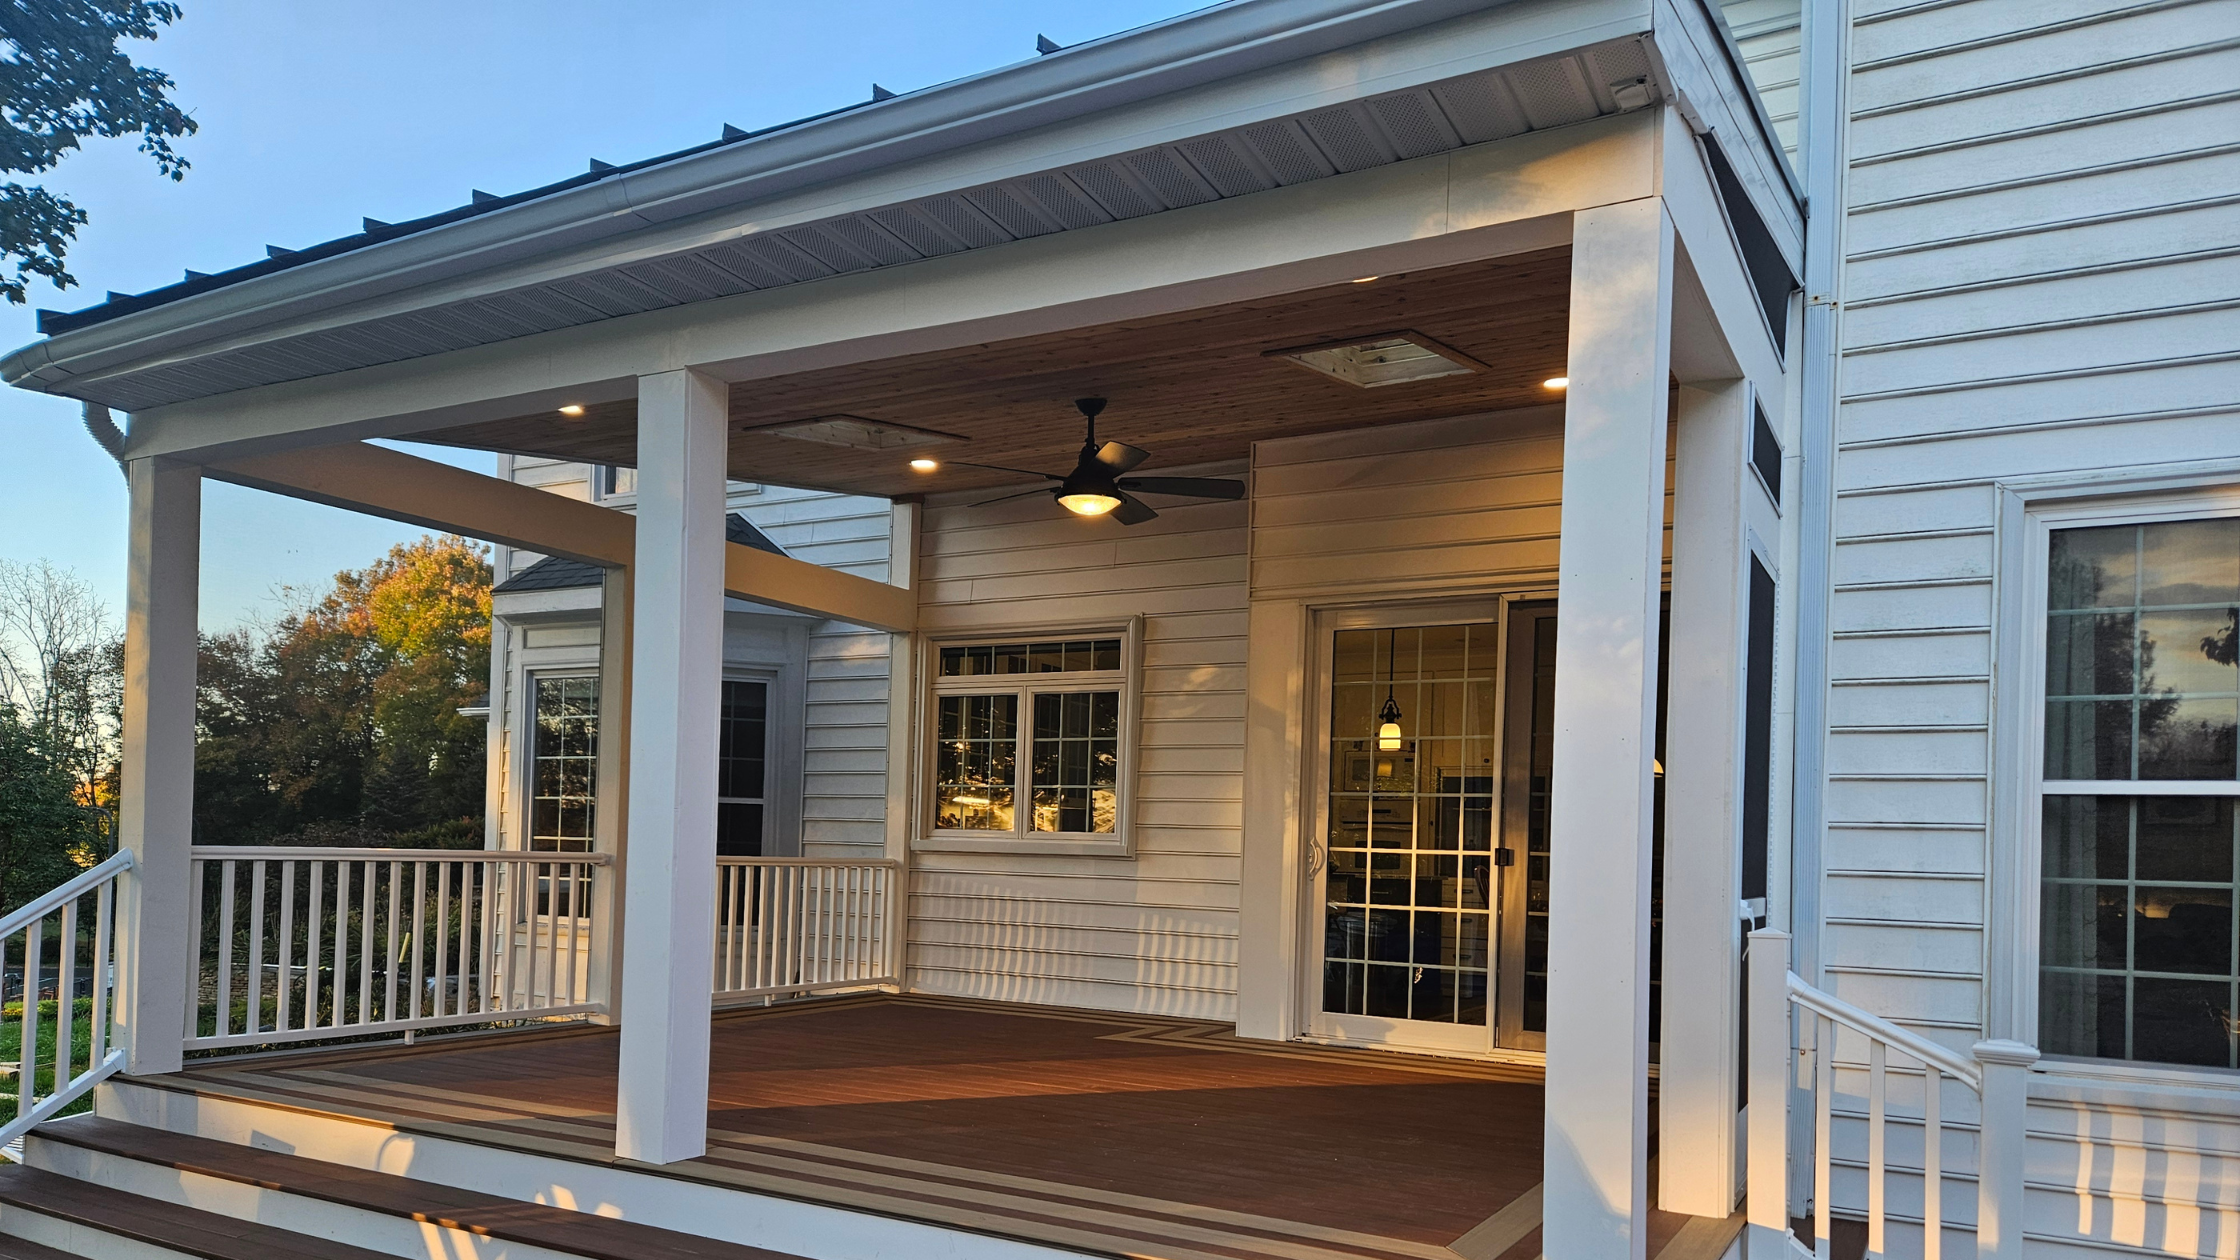
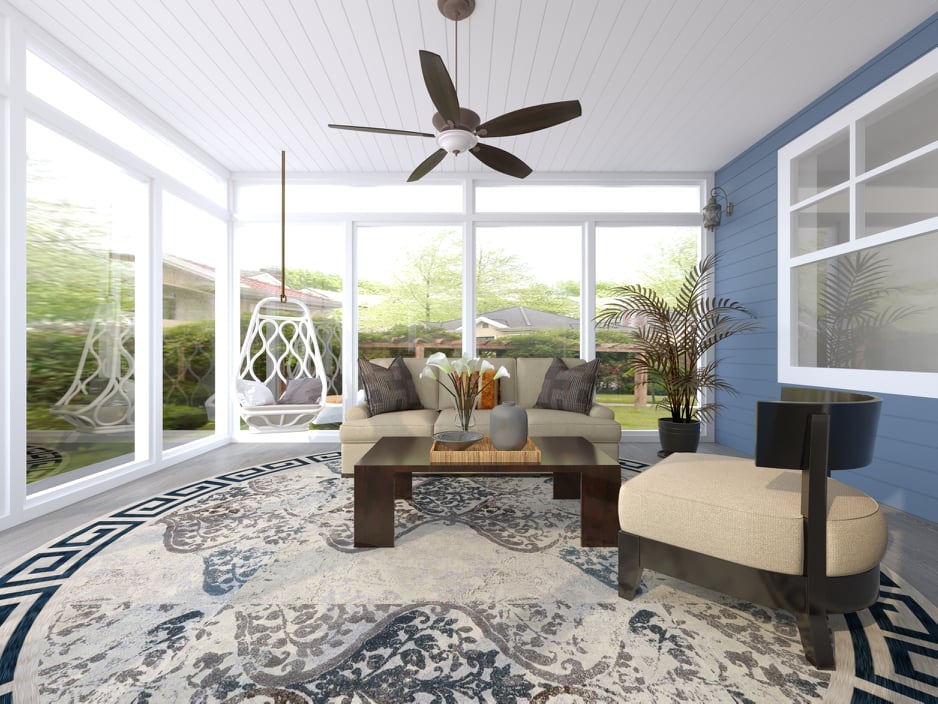
Our client came to us looking for a three season screened porch to enjoy her outdoor space. She had recently moved into her newly built home in an HOA that did not come with a deck or outdoor space. Our client had cats that she wanted to enjoy her outdoor space with and a screened porch was the perfect solution for her needs so that she can enjoy the outdoors with her pets. We proposed to build a 10 x 12 sunroom with high quality screen, a white shiplap ceiling, and a ceiling fan with electricity in the sunroom. We proposed that we’d build a screened door with stairs leading to her backyard.

Step 1: Design Phase
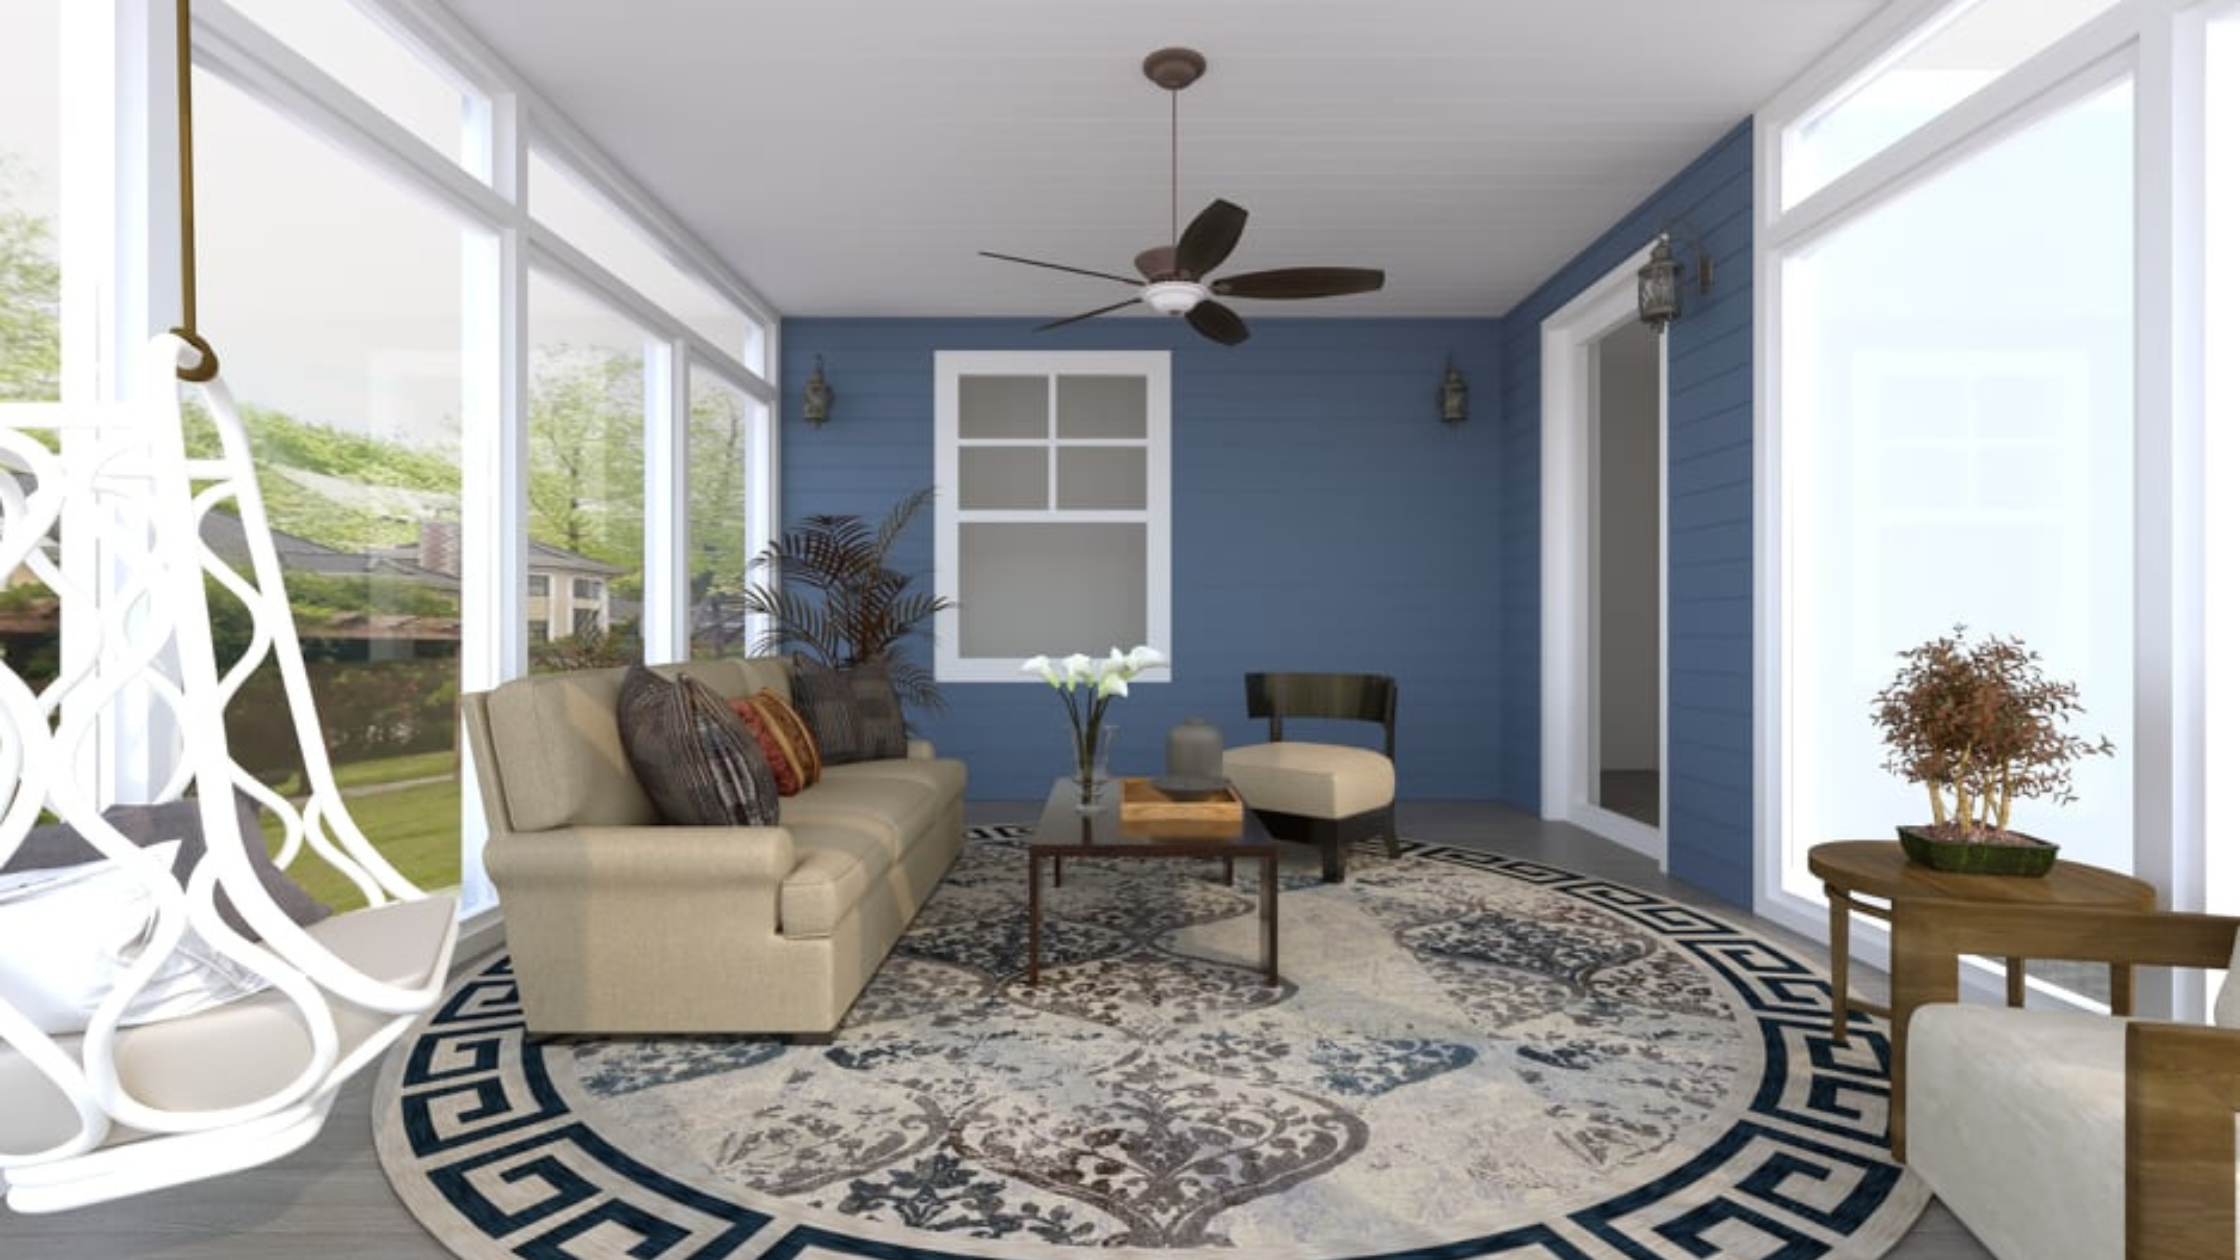
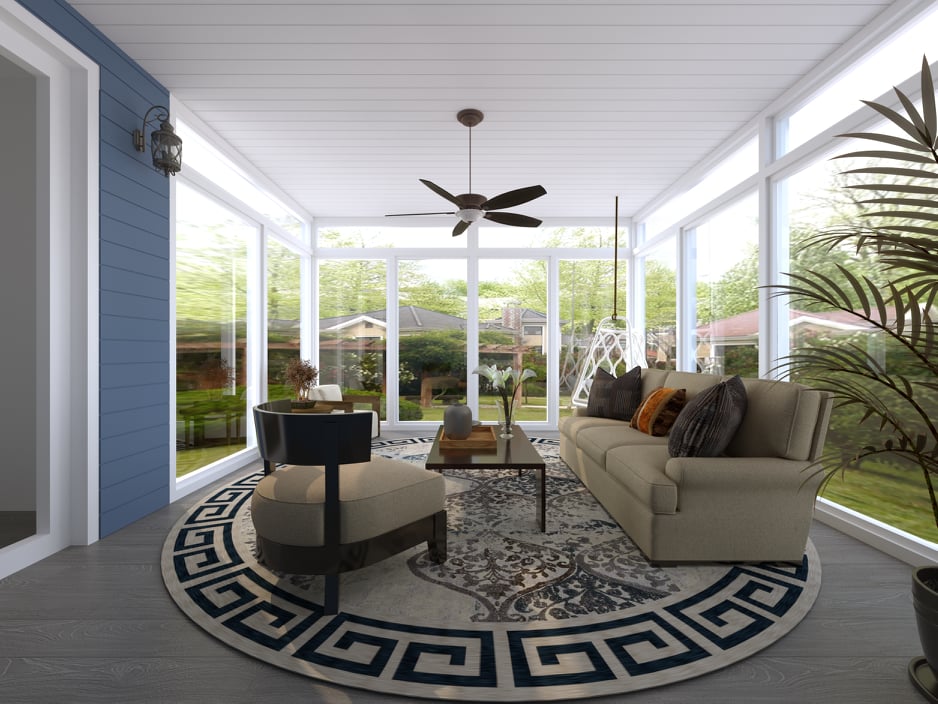
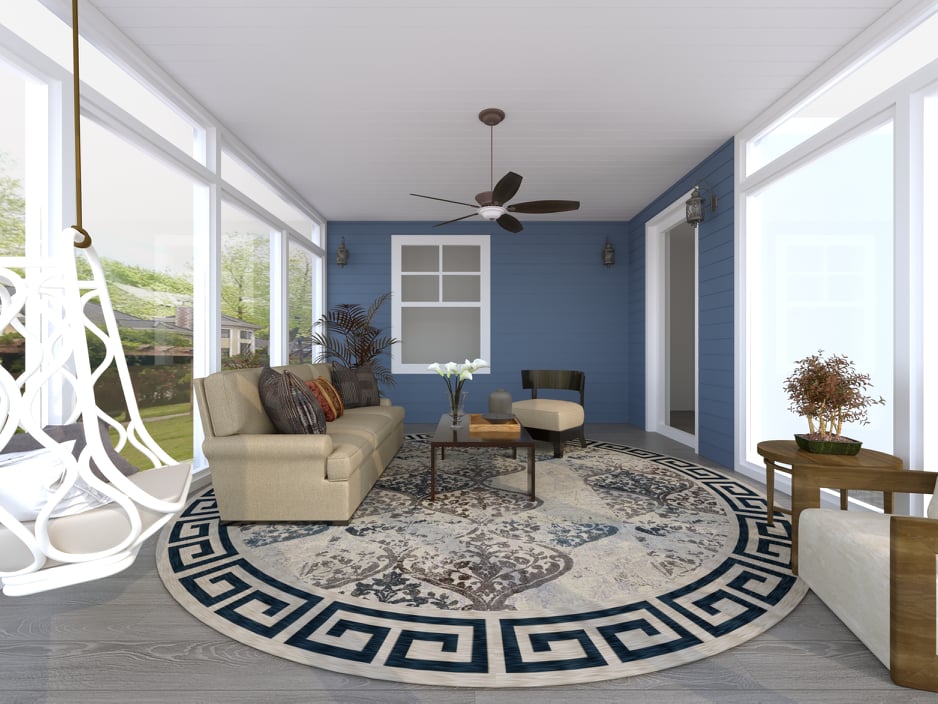
We started by creating beautiful designs to showcase the design and feel of the space so that the client could capture their vision in a design. Once the client approved this we looked at specific materials like the type of screening, color of composite boards for the deck, and matched the paint to the house. Once the client signed off on the materials.
Step 2: Permits
We worked with the client to file permits with both the HOA and the township. Lincoln Built provided all the appropriate paperwork and helped the client file with the HOA. Then the waiting process began. Once the permits were approved we were able to start construction.
Step 3: Construction
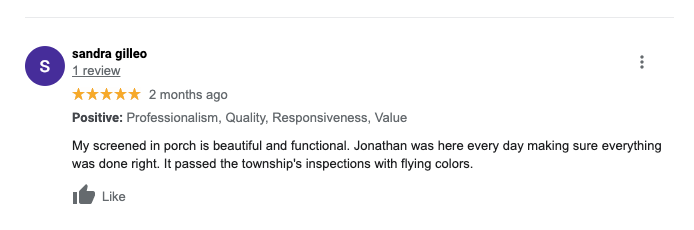
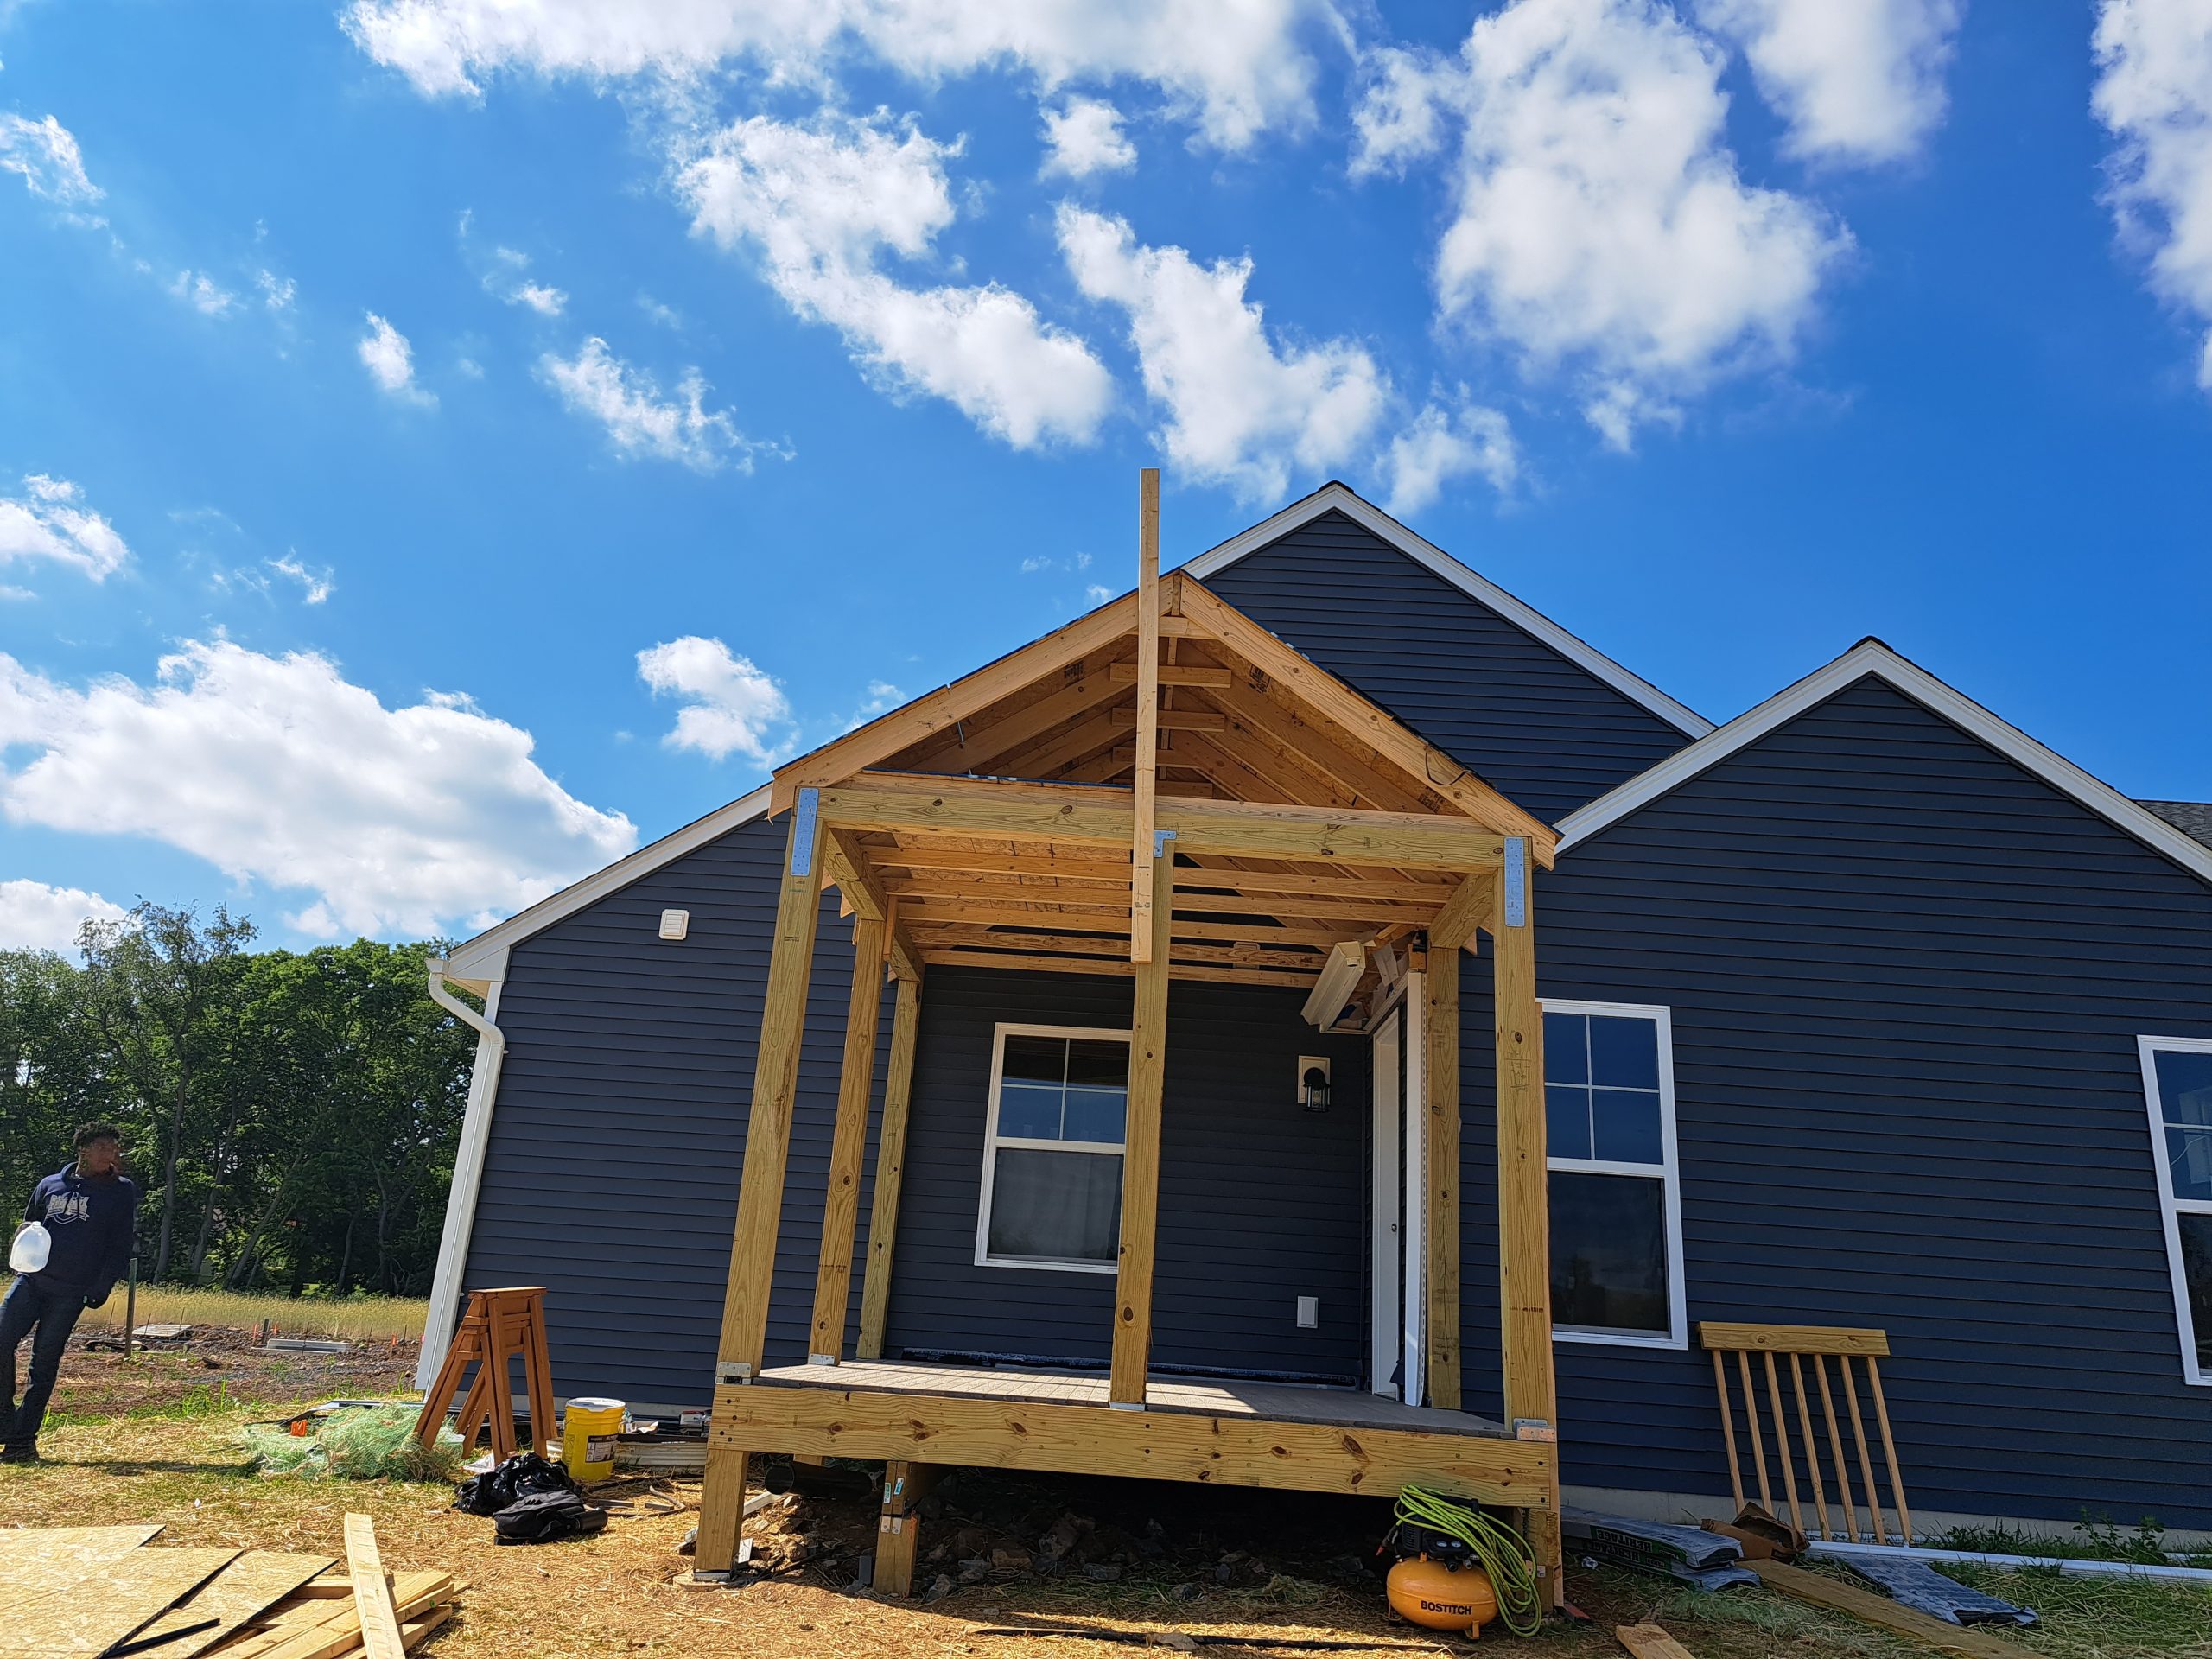
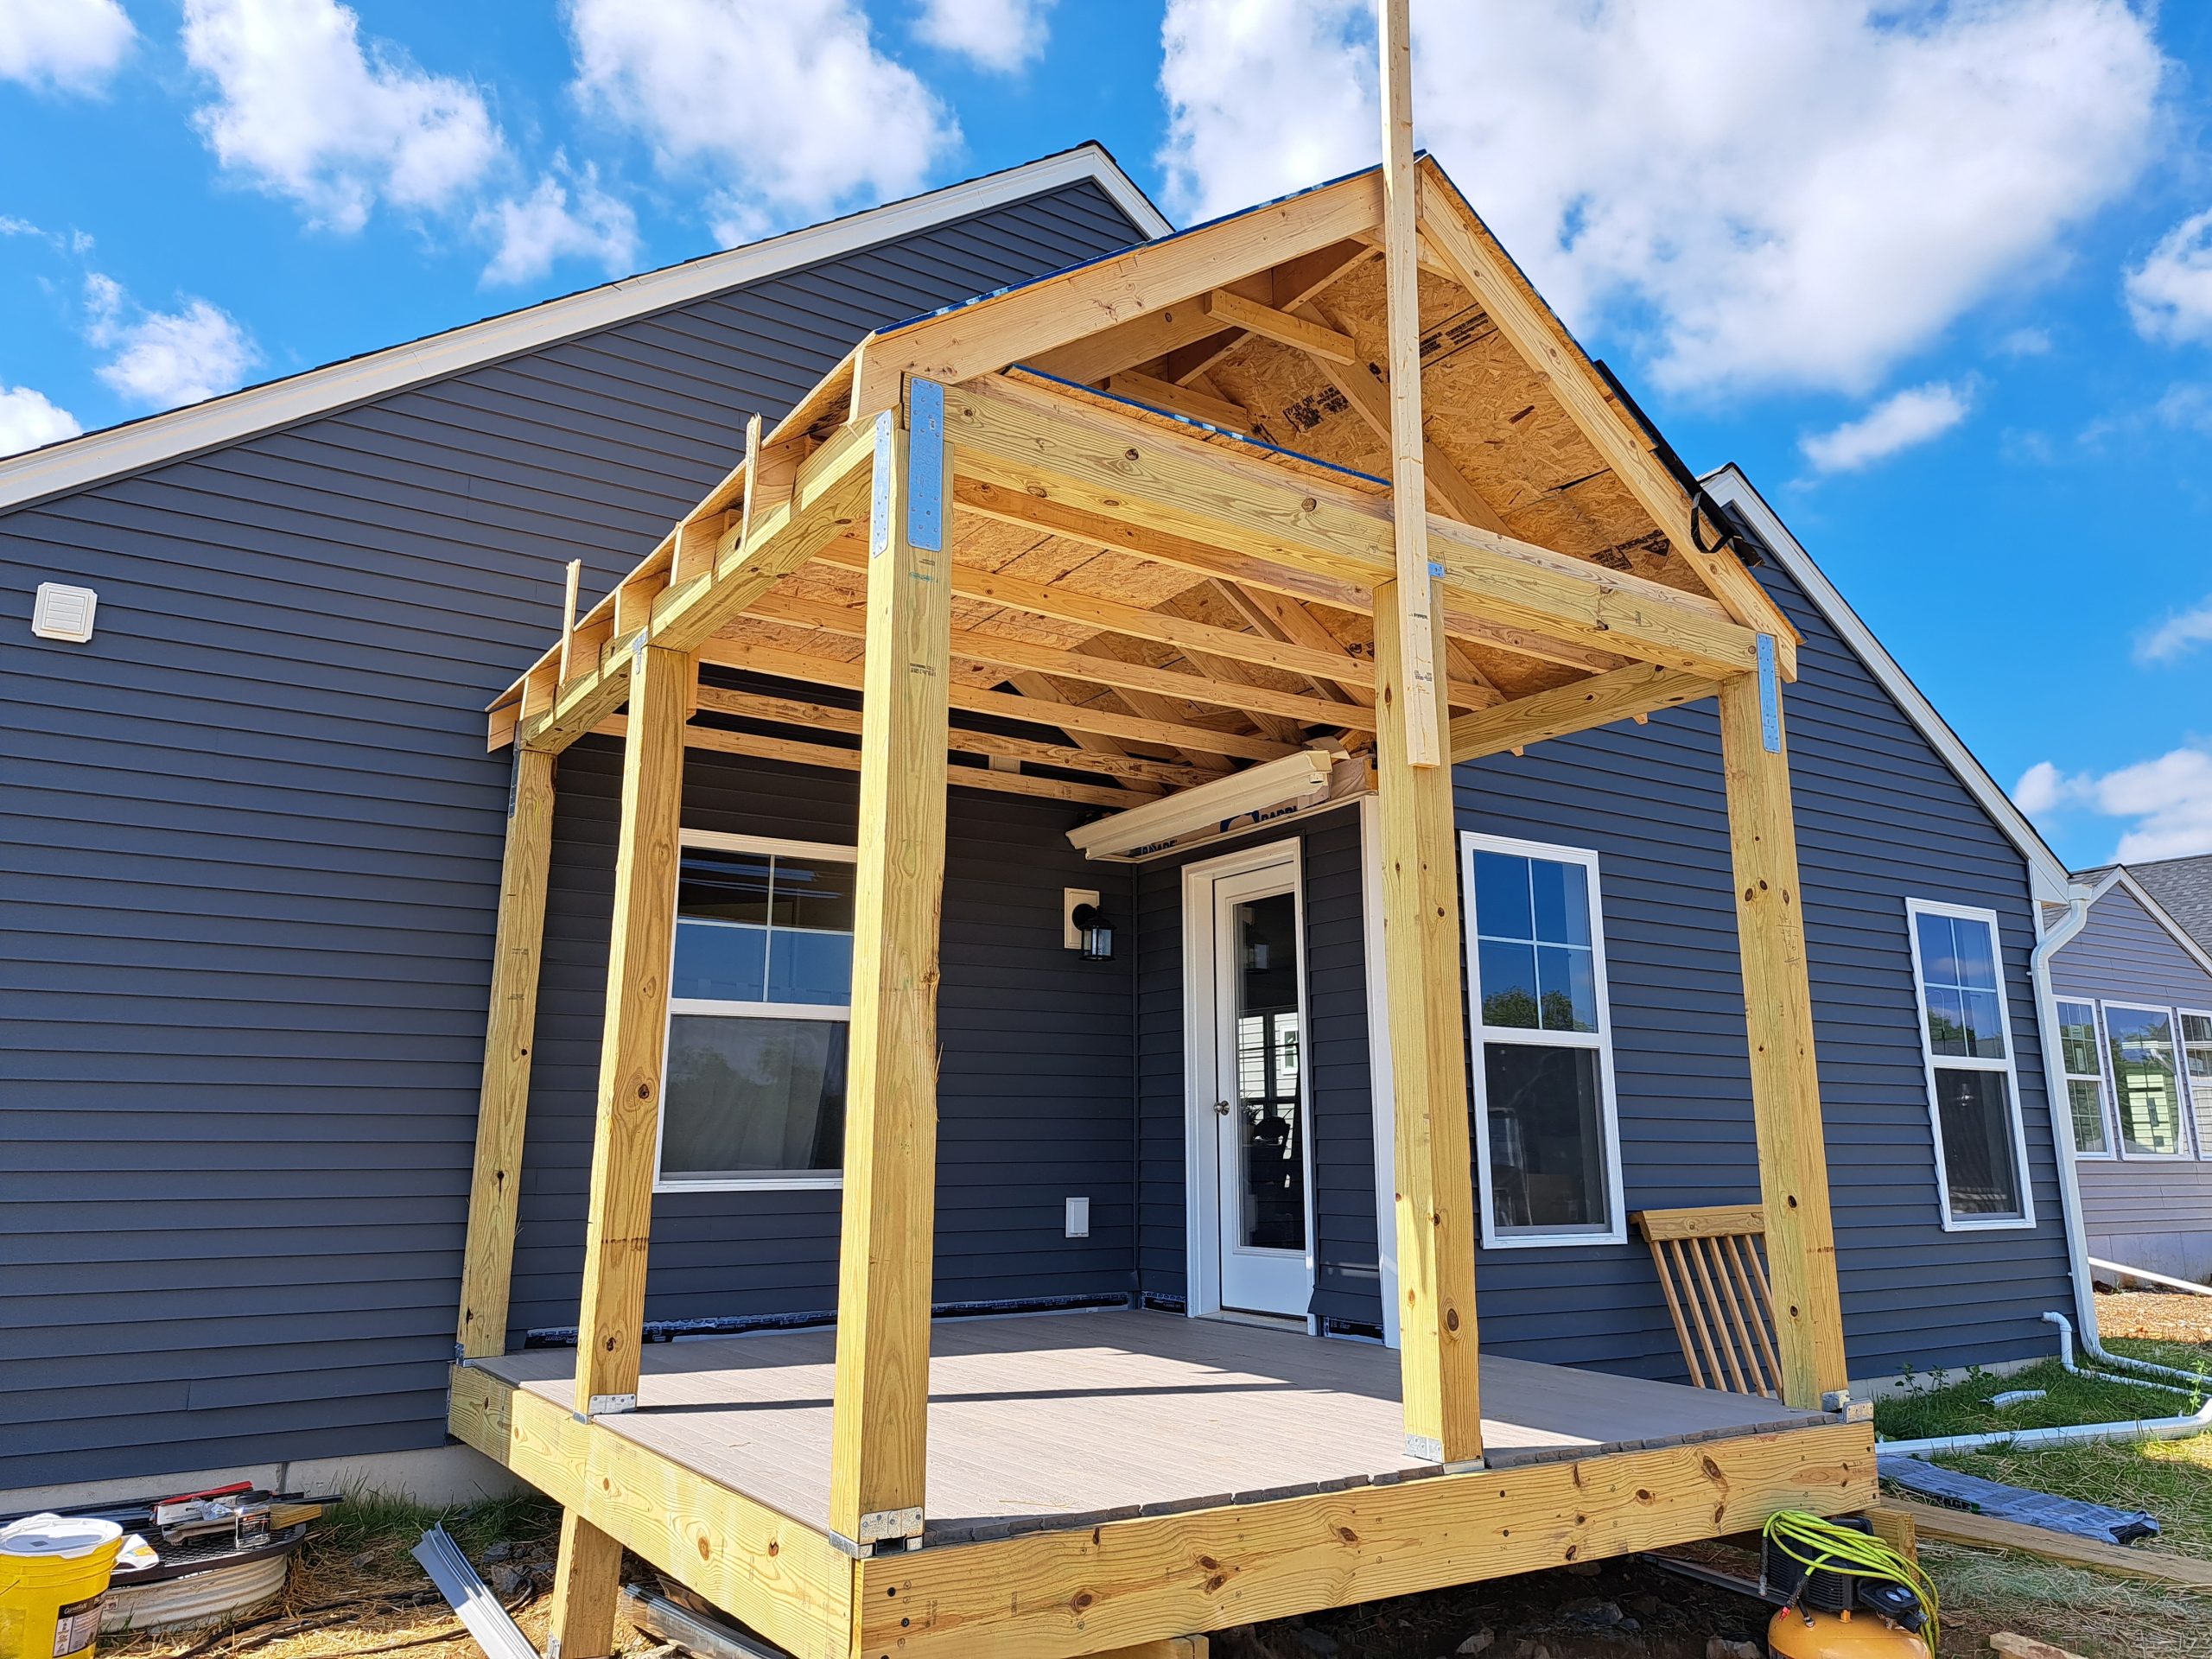
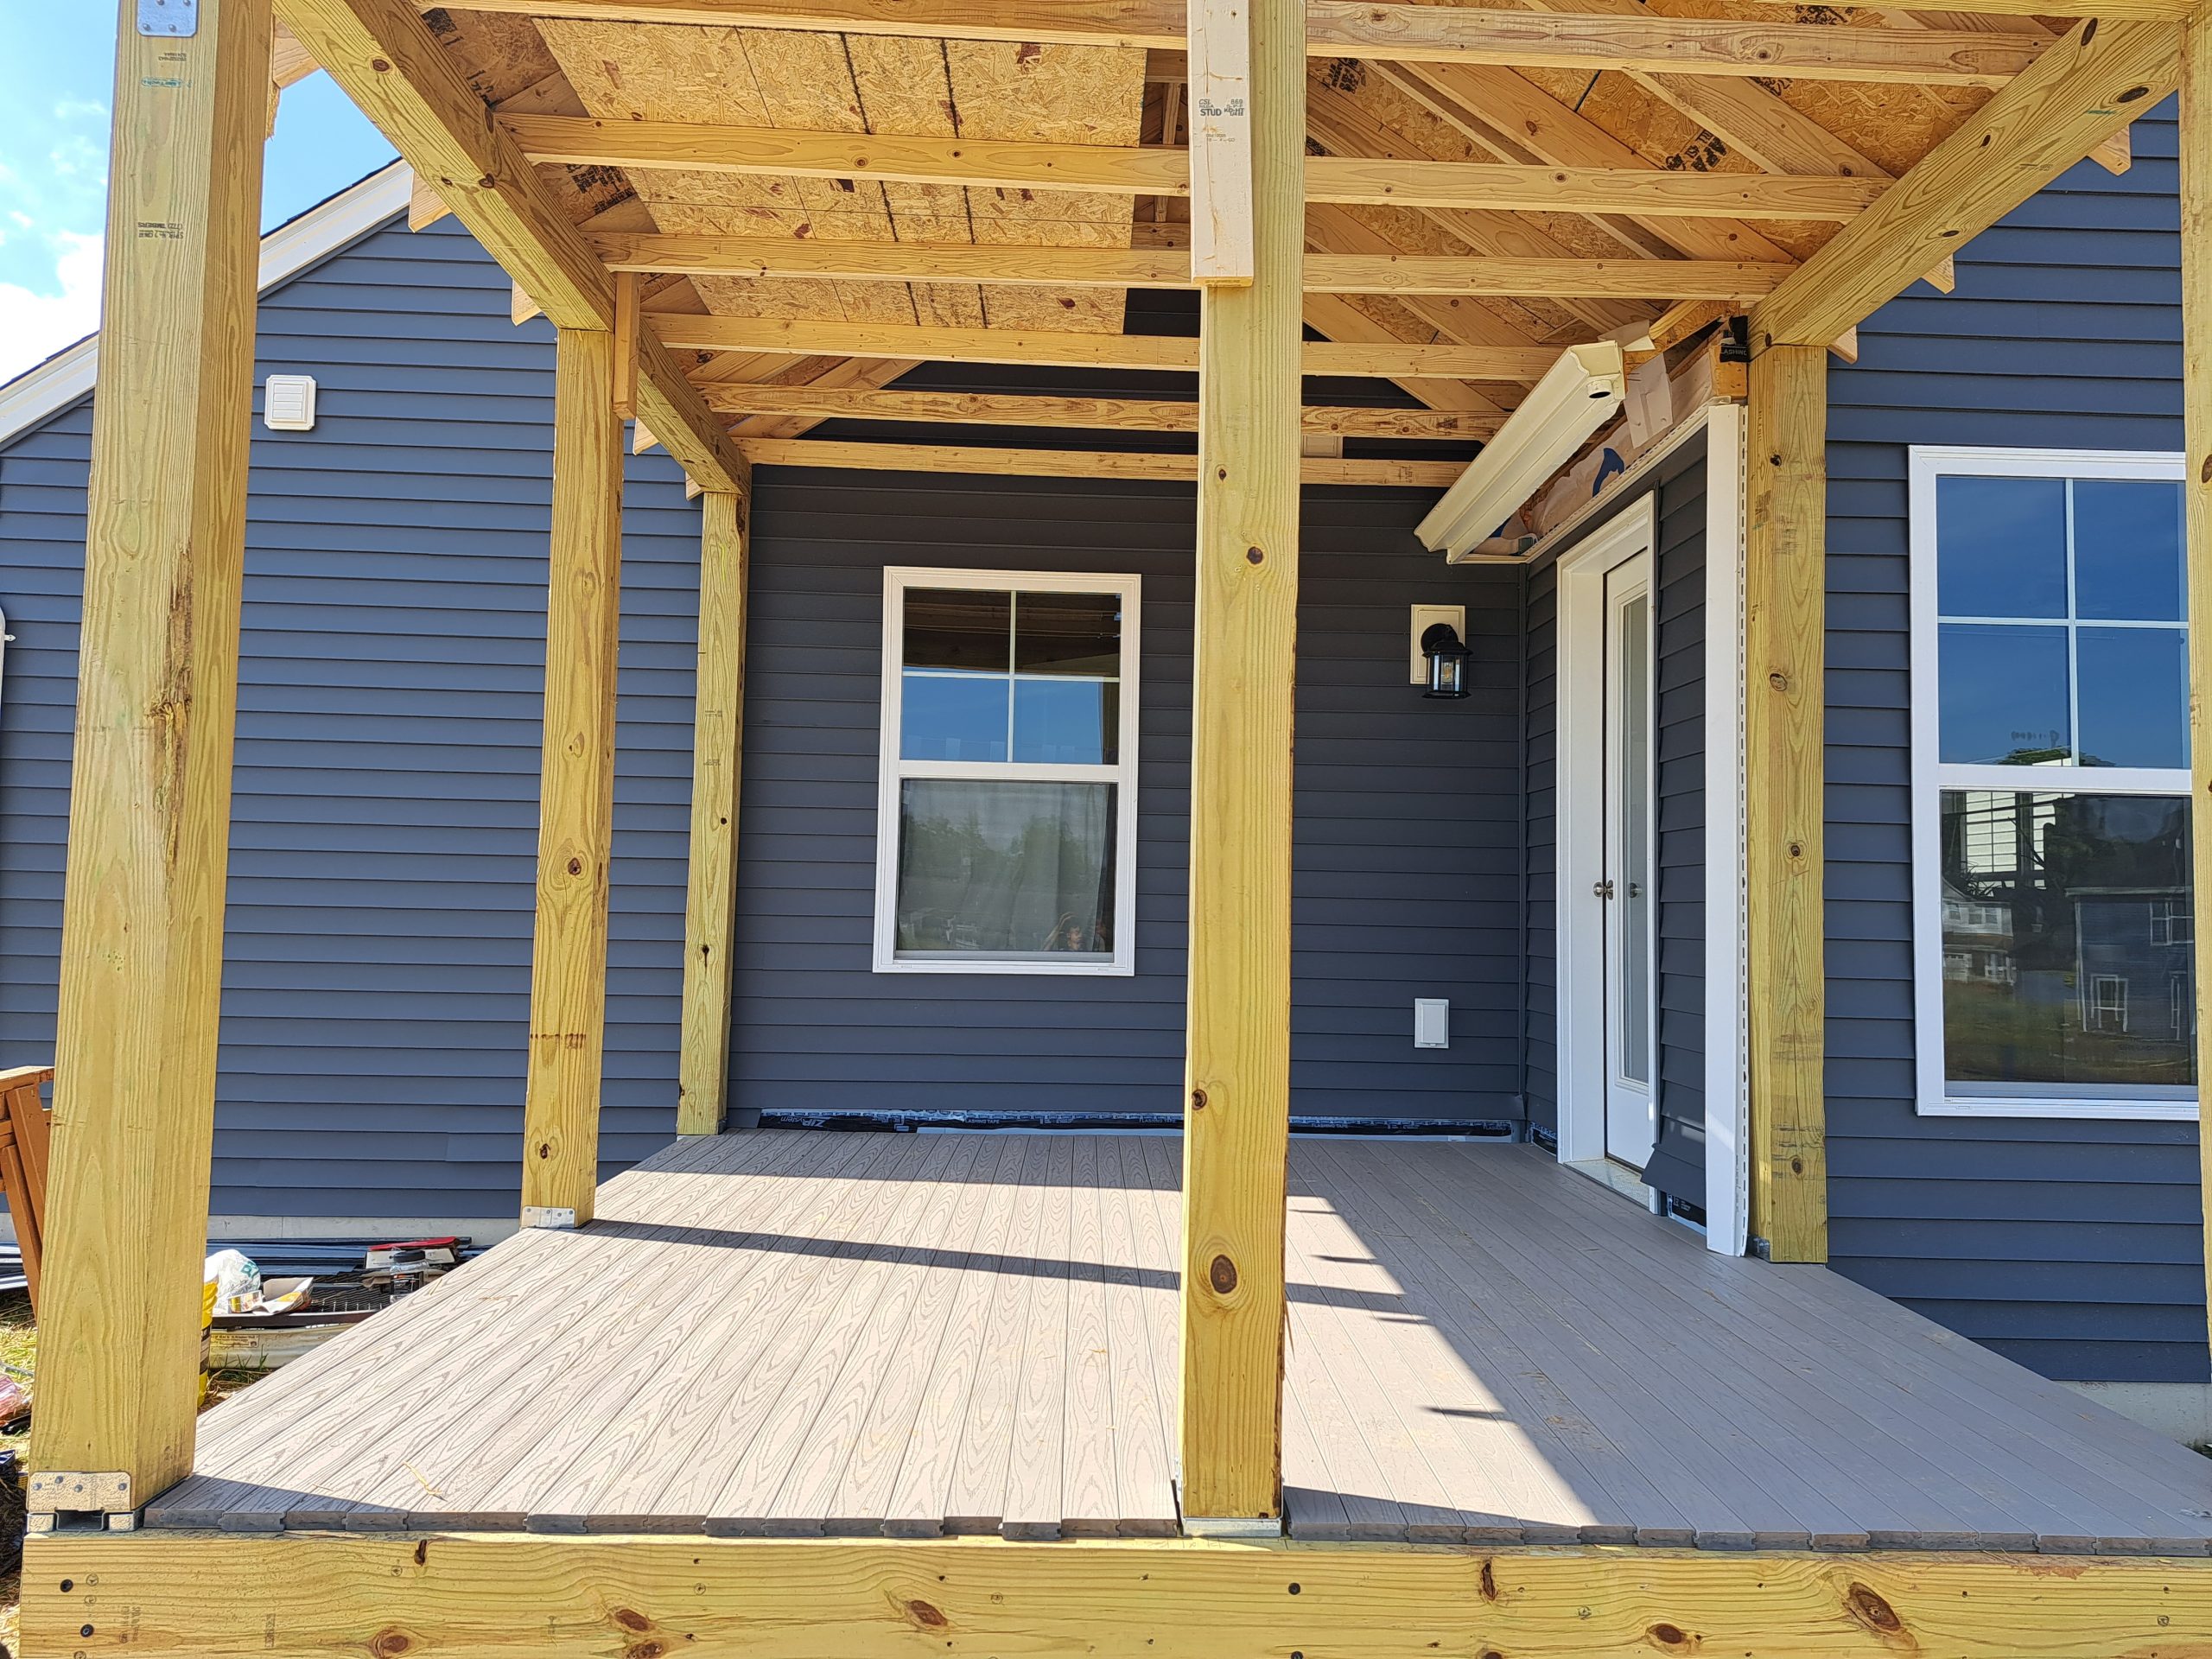
We started by building the deck system, digging post holes for the deck, and laying down composite decking boards to build the floor for the screened porch. We used a hidden fastening system so that no screws are visible. From there we framed out the walls and created an opening for a door to the outside. We moved the dryer vent to the side of the home because it was located where we were constructing. We built the roof and matched the singles with the existing home shingle colors.
Once we were down with framing we did rough electrical for the light and fan switches. We installed shiplap on the ceiling and installed high-quality screening from top to bottom. We installed a screen door and built stairs leading from the screened porch to the client’s backyard. We installed a fan and light fixture and finished the space with white paint and trim that matched the interior of the home.
Step 4: Inspections & Approvals
During the process we had inspections to make sure that we were building to proper code and requirements at each step of the building process. Once the screened porch was complete we went through one final inspection to approve the construction.
Step 5: Finalize the Project
After cleaning up the job site, and helping the client move her plants into the space we were done with the project. The client was happy with her newly built screened in porch.